Saturday November 2, 2019
Christina: Against the grain
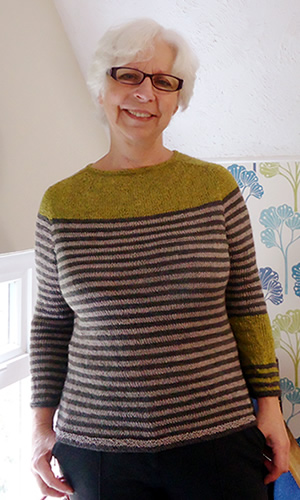
Finished in April but finally posting this photo in November. It was not my favourite piece of knitting, but it is lovely to wear. Such scrumptious yarn.
I think Alison's extension of the yoke colour is much more flattering - and it does mean that you do not have to change colour while doing the yoke increases which is a great benefit.
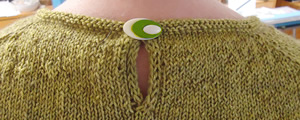
Just for good measure here is a photo of my vintage button. I had it planned for this sweater long before I finished it - despite it being a bit large and not the right colour. I might also mention that not only is it plastic but also very badly manufactured - but that's the 1950s (I assume) mass production for you. (Did I mention I love it?).
Posted by Christina at 12:07 PM. Category: Against All Odds
Friday April 12, 2019
Alison: Zakończono Sukcesem
Posted by Alison at 8:21 PM. Category: Against All Odds
Sunday February 24, 2019
Christina: Against all Odds - in the skein
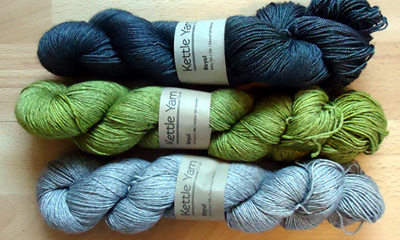
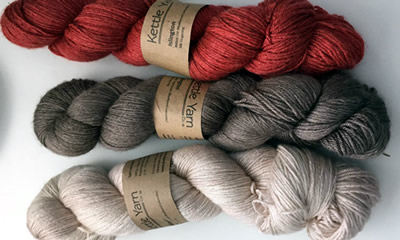
Alison and I went to Unravel and somehow bought some luxury wools from Kettle Yarns. I have been eyeing up this specific jumper for about 3 years and finally decided I have both time and inclination to do it.
And Alison was so taken with the beautiful colour combinations that she also became ensnared into what now may be a new knitalong.
The sweater is a design variation by Isabell
Kraemer .
My yarn choice is Beyul Fingering - a mix of Merino, Yak, and Silk, [100g;400yd/366m] in colours Black Quartz, Steppe, and Yurt.
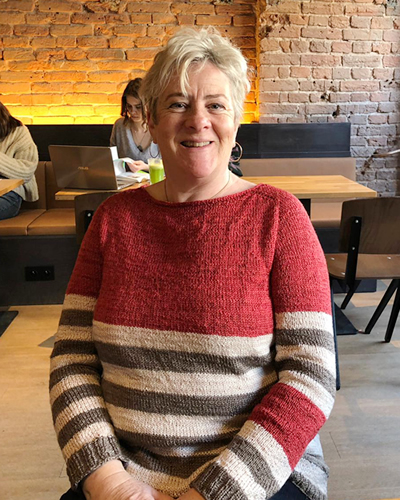
Alison's choice is Islington - a mix of Blue-Faced Leicester and Silk, [100g;400yd/366m] in colours Nutkin, Squirrelly, and Red Velvet.
Posted by Christina at 6:43 PM. Category: Against All Odds
Saturday December 31, 2016
Christina: FO at last
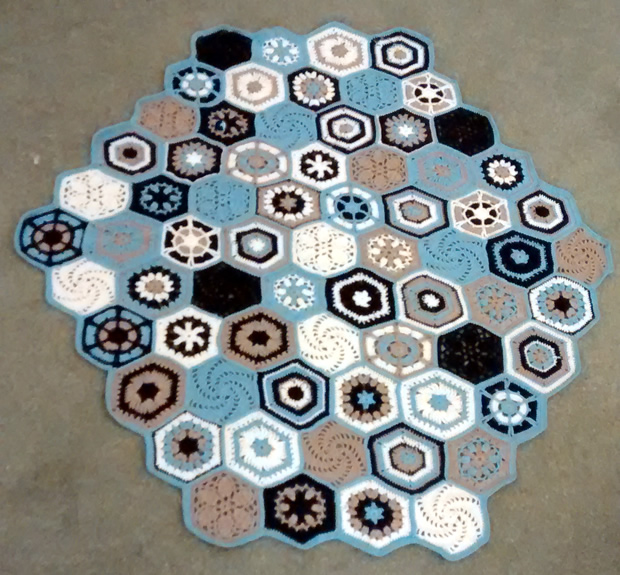
Finally sewed them all up - motivated by the desire to gift them to Wendy and Lloyd for their new baby. This cotton blanket is not very soft and cuddly, so I am not sure that this will be loved as much as my previous pin-woven gift - but it is a work of art...
Posted by Christina at 9:35 AM. Category: Lisa Richardson Rowan CAL
Tuesday October 11, 2016
Alison: Finally...
Posted by Alison at 12:02 PM. Category: Swallowtail Shawl
Sunday June 26, 2016
Christina: ...it is now
Posted by Christina at 1:42 PM. Category: Swallowtail Shawl
Friday June 24, 2016
Alison: On the way....
Posted by Alison at 7:52 AM. Category: Swallowtail Shawl